Learning Ukulele 50 Sites Top 50 Ukulele Sites Argapa Ukuleles - one size louder

Wednesday, May 11, 2022

New guitar project, with Li

Hell-o all you wonderful readers of ye olde blogge. I am not dead, but my bank accounts will be soon. The efforts and the cost of building the new homestead are sick. But it is moving in the right direction and before you know it a ramshackle workshop will be set up. 

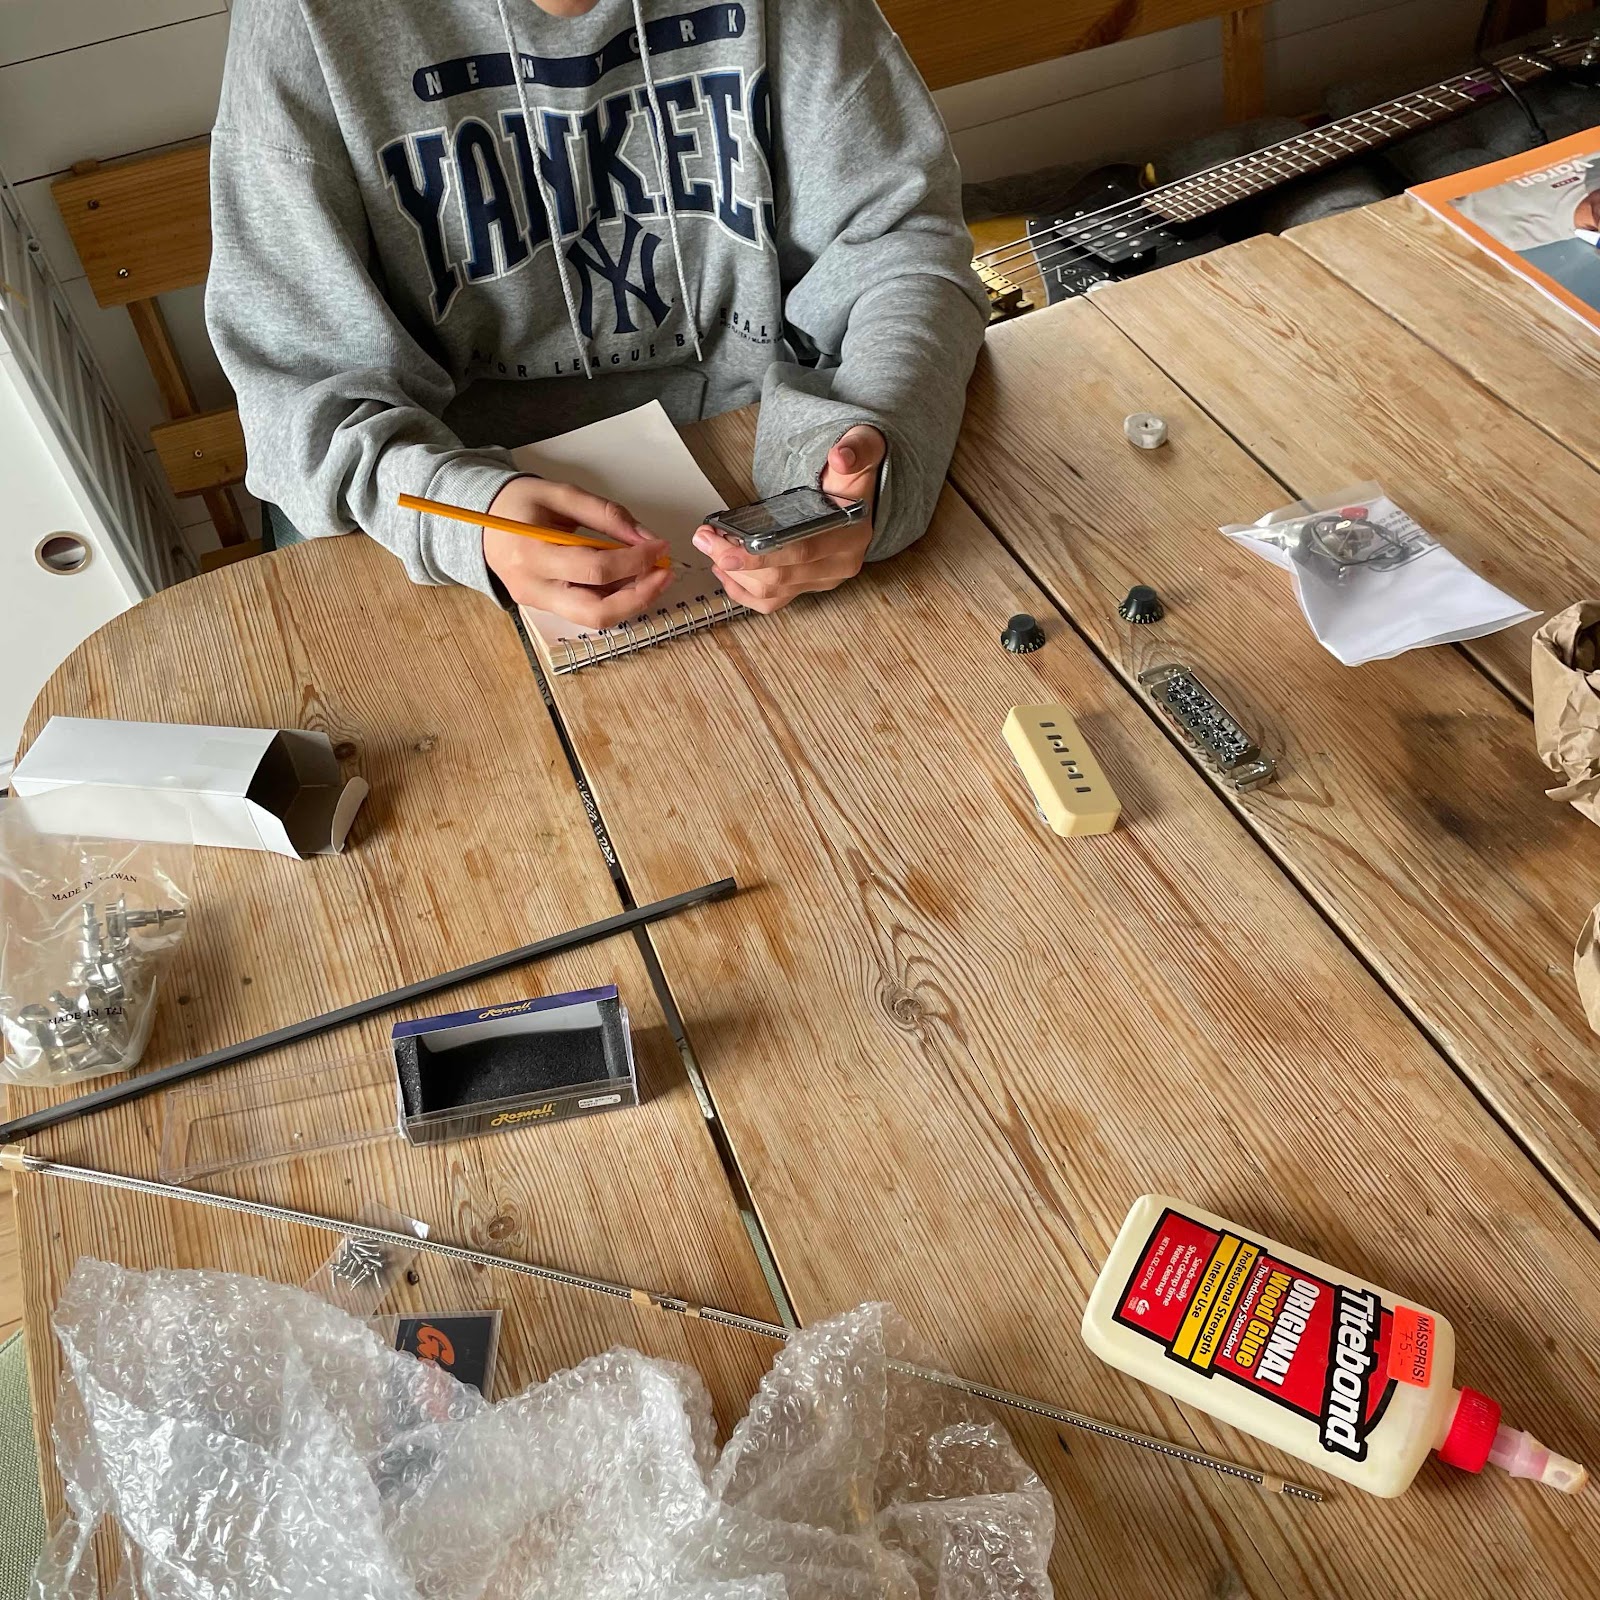
Anyway I wanted to show this. My daughter Li wants an electric guitar and my answer was HELL YEAH YOU WILL GET A GUITAR. In the pic she’s drawing one and I’ve laid out parts and hardware that I happened to have lying around. 


Friday, March 11, 2022

Reinforcing the bridge patch

Remember the nasty, chewed-up bridge patch? That was more like a wide brace of soft spruce? I sure did, and wanted to glue a thin piece of maple so the ball ends of the strings have something more solid to pull against. 

First pic shows me doing a smart thing: I held a piece of paper under the brace and rubbed the edges of it so they marked the paper. Then I could measure the width more easily, outside the guitar. 


I went back and forth a bit, marking the new patch through the holes so it would end up in the right position. Here you can see the size and shape I worked out by guessing. 


Smart moment number two: I glued a caul on the clamp, and built two tiny ramps of masking tape so they were higher towards the ends of the caul. That way when I tighten the clamp it’ll give pressure to the entire maple patch instead of just in the middle. 

The patch was temporarily fastened to the caul with masking tape and superglue, and wiggled into position. My wife helped me because my hands were too big once the clamp was in. 


A caul on the outside and left to dry for 24 hours. 


Gut shot that shows we did well. Next up is drilling holes in the new patch and also in the new bridge, to get that positioned correctly over the existing holes through the soundboard. 


Friday, March 4, 2022

New bridge, pt. 2

Hi there. The work done in this post was actually made a couple of weeks back, but I never got around to posting it. Sorry about that. 

With the new bridge sort of done I need to remove the old one. It’s cracked and it’s a bit shit so no big loss. To heat it I’ll use a clothes iron but it will be much easier if the bridge is thinner, and flat. So I planed it down with my Veritas apron plane. 


Trying to protect the lacquer from the heat with some aluminium foil, I went at it. It was sort of easy. 


As you can see it came off pretty cleanly, but I’ll have to clean the surface before glueing the new one on. 


Here I’m checking the scale length to make sure the saddle will fit, and it will. I’ll route the slot in situ last. 


But look at this chewed-up bridgeplate. Reaching in with my phone camera told me we’ll have to fix that. Stay tuned.